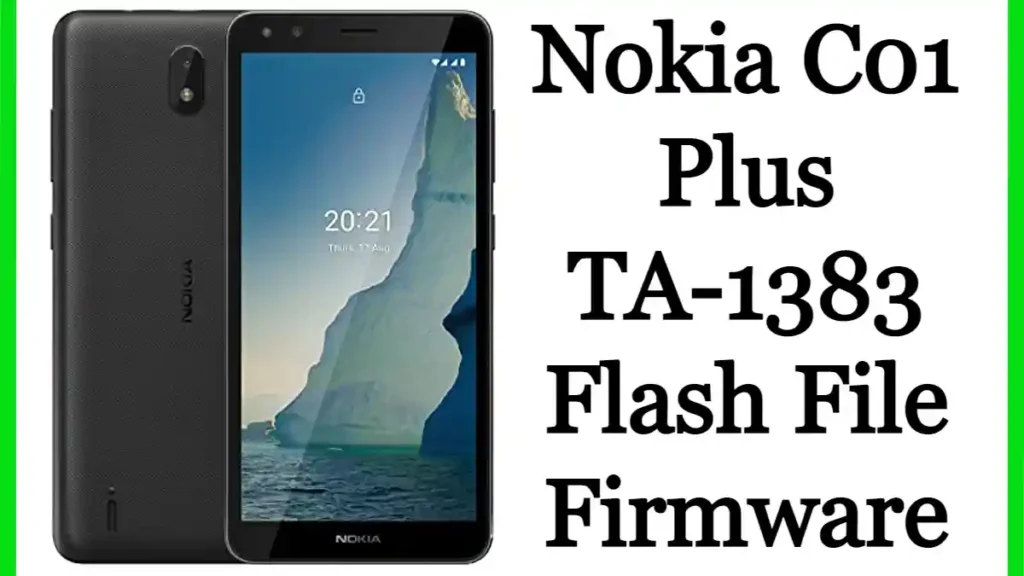
We provide a Nokia C01 Plus TA-1383 Flash File. On our website, you can find all Type Stock Rom Flash Files. All Flash File Firmware has been tested properly, and we use them first. We upload files to our website after testing them. you can solve problems such as Google FRP Lock, LCD Display Black or White, Hang On Logo, Dead Recovery, or Fastboot Mode.
To install Firmware files, we need Flash Tools that can help to flash Stock ROM on your device. This method is simple and easy. We have also added a video tutorial step-by-step for Flashing
Whatever the problem, one of the best solutions to fix your Nokia C01 Plus TA-1383 is to install the Stock ROM on it. You can consider Flashing if you reset factory data on your Nokia Phone.
Nokia C01 Plus Full Specifications:
The Nokia C01 Plus smartphone was launched in June 2021. The phone comes with a 5.45-inch touchscreen that offers a resolution of 720 × 1440 pixels and an aspect ratio of 18:9. The Nokia C01 Plus is powered by an octa-core Unisoc SC9863A processor. It comes with 1GB and 2GB of RAM. Nokia C01 Plus runs Android 11 (Go edition) and is backed by a 3000mAh removable battery.
In terms of camera, the Nokia C01 Plus has a 5-megapixel camera on the back. It has a unique front camera setup for selfies, with a 5-megapixel sensor.
Nokia C01 Plus is based on Android 11 (Go edition) and packs 16GB, and 32GB of built-in storage that can be expanded via microSD card (up to 128GB). Nokia C01 Plus is a dual SIM (GSM and GSM) mobile phone that accepts Nano-SIM and Nano-SIM cards. Nokia C01 Plus measures 148.00 x 71.80 x 9.30 mm (height x width x thickness) and weighs 157.00 grams. It started with blue and purple colors.
What is Stock ROM?
Stock ROM is an operating system in your device. when needs to adjust the device to a Custom ROM and other modifications then need a stock ROM. when there is something wrong during any modification, returning to the stock ROM is the only choice that can solve this problem.
By installing stock ROM, you can solve the problem of a boot loop, a brick device. In addition, you can increase or reduce the Firmware version according to your choice
Before starting the Stock ROM installation process on your Nokia C01 Plus TA-1383, you need to download the official Firmware file. After downloading and installing a USB driver and flash Tool on a computer., you can start the flashing process
Why Need Firmware
- This fixes the boot problem and the problem of instability too.
- To increase or lower your Firmware version
- You can Remove the screen lock and malware too
- To fix lags on your Android device.
- You can delete the root on your device [Unroot]
- You can restore the stock ROM after using a custom ROM.
- You can fix a soft brick problem on your Nokia C01 Plus TA-1383
- Flash File helps solve problems with WiFi, Bluetooth, and more.
Pre_Requirements For Flashing
- Devices supported: Nokia C01 Plus TA-1383
- Be sure to charge your device more than 50%
- You need a PC or laptop with a USB cable
- Download the complete backup of your Android phone
- Download All USB Drivers and Flash Tools
Nokia C01 Plus Firmware Information
| Support Phone Model | Nokia C01 Plus TA-1383 |
| File Name | Nokia TA-1383 Firmware |
| Rom Version | HMDSW_TA-1383-1050-0-00WW-B01 |
| Network Support | 4G |
| Processor | Unisoc SC9863A |
| Software needed | Flash Tool |
| Passwords |
Link Broken = Comment if Any Link Broken
Download the Nokia C01 Plus TA-1383 Flash File
How to Flash Nokia C01 Plus With Flash Tool
- First, you need to download and install the SP Flash Tool on your computer
- Download and install MTK Android USB drivers on your PC
- Then download the firmware file/flash / ROM file for your cellphone from the link above
- The phone must have a power of 60% before this process
- Turn off the phone, delete the battery (if released) Re-enter the battery, and connect the USB cable to the charger socket
- Now open the sp flash tool.exe when the Flash SP tool opens,
- Open the Download button on the Flash SP tool on the Download tab,
- Click the Share Upload button after finding a scatter card,
- Click the Download button
- Now connect your smartphone to a USB cable and press the up or down button for easy detection
- Now flashing is complete, the green ring will appear on the SP Flash tool Close the SP Flash Tool on your computer and unplug the phone
- Turn on your cellphone and enjoy
How To Backup Your Important Data?
Please back up your data before upgrading to Android. If you want to downgrade your device’s software version to Android Lower Version by an official software package, it may erase all data from your device be sure to back up your important data before Updating!
Initially connect your mobile device with a PC or laptop OK. Now you can choose MTP [media transfer protocol]. And then copy your device information and save it on a PC or laptop. For more details click here
Instructions to Install:
We are on kabalkhajaliya.com and will not be liable for any damage/error that may occur to your phone while following this tutorial. Proceed at your own risk.
Read More Articles


